
Creating a Word Template for Dynamics GP
Creating a Word Template requires working with Microsoft Word and Dynamics GP Report Writer. This post will walk you through the required steps. It’s important to perform these steps in order. You also will be working with the Template Configuration and Template Maintenance in Dynamics GP.
You must have two applications installed before beginning this process: Microsoft Dynamics GP Add-On for Word and Open XML SDK 2.0 for Microsoft Office. Open XML will be installed when you install Dynamics GP. The Dynamics GP Add-On for Word is located on the Dynamics CD.
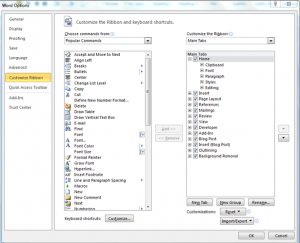
To use Microsoft Word with Dynamics GP, you must add the “Developer” tab to your Word ribbon bar. Go to Options | Customize Ribbon and select “Popular Commands.” Add the Developer function to the Ribbon list and then check the box. Click “OK.”
Template Configuration-Reports | Template Configuration
The configuration window allows you to enable a specific form(s) to work as a template.
Expand the trees for Enable, Company and Series. Mark the document(s) for which you want to create a template. Be sure to mark the Enable Report Templates and, if desired, to allow use of the Standard form even though you’re using the template.
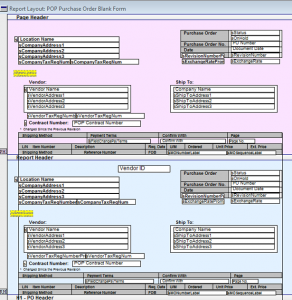
The next step is to create a modified GP report in Report Writer. You may want to modify the report with a definition field. You can place the definition field anywhere on the report, regardless of where you place it on the template. You will need to make note of the section where you have placed the field, such as the “Report Header” shown below. (I have added the Vendor ID.) Save and close the report. Go back into Dynamics.
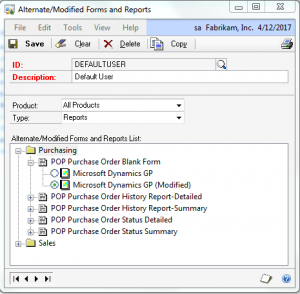
Dynamics | Tools | Setup | System | Alternate Modified Forms & Reports
You must give access to the modified form for the series with which you are working.
Creating an XML File
The next required step is to create an XML file in order to create your template. You will need to go to the entry screen of the series you are working with and bring up a transaction to print. When you print the form, you will select the Standard form and print to a file. The file must be an XML file.
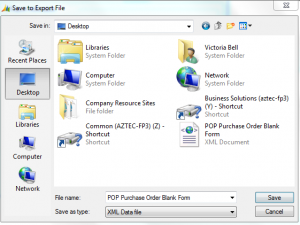
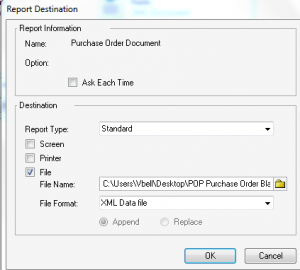
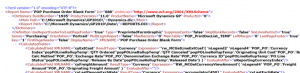
Click “OK.” Open the file to make sure it is an XML file.
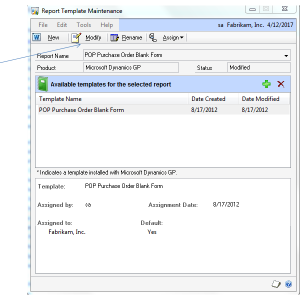
Template Maintenance-Reports | Template Maintenance
Select the report name you will be working with. Be sure to select the modified report.
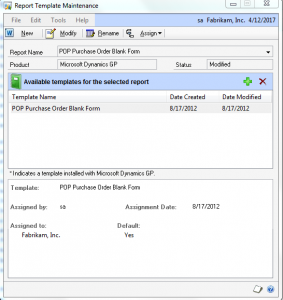
Once you have selected your modified report, you will be required to create the template you will be working with. Select “Modify.”
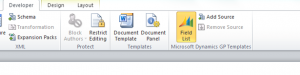
Selecting “Modify” will launch Microsoft Word. Click on the “Developer” tab on the ribbon bar. Click on the “Field List” tab on the ribbon bar.
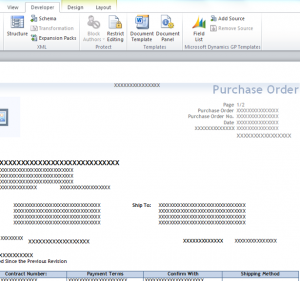
Clicking “Field List” will open the “Source File” window to the left of the document. Select the XML resource. This will populate the report section list.
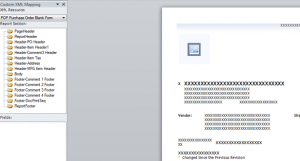
Once you bring up the source list, you will have to “Remove Source.” Once you click “Remove,” you will then click on “Add Source.”
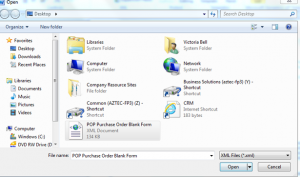
When you click “Add Source,” you will select the XML file you saved. Click “Open.”
This will take you back to Microsoft Word. Select the source file again. Select the Report Section in which you placed the field definition in Report Writer. Scroll down to the field definitions and select the field definition that you put on the modified report in Report Writer. In this example, select “PM_Vendor_MSTR”, “Vendor ID.”
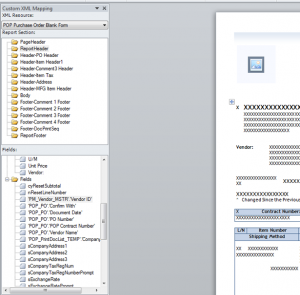
Before you drag that field definition to the template, you will be required to insert a cell where you want to position that field. Click the area of the template and then right-click to insert a cell. In this example, I have inserted a cell in the “Header” section. You can now drag and drop the field definition into that cell.
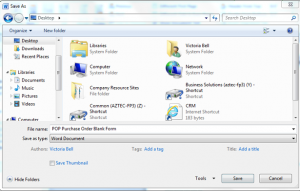
Once you have made your modifications you will need to save the template as a Word document. It will want to save the file to the temp directory, but it is recommended to save it to a shared location on your server. In this example, I have saved it to my desktop.
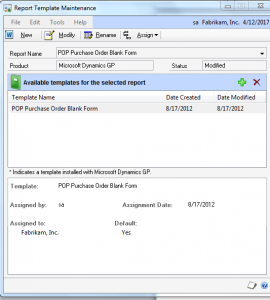
Once the Word document is saved, you will return to the Template Maintenance screen.
In the Template Maintenance screen, you will need to add that new template. You may replace the existing template, rename it or create a new named file. Highlight the existing template and click the plus sign above it. This will launch Windows Explorer for you to select your saved Word template.
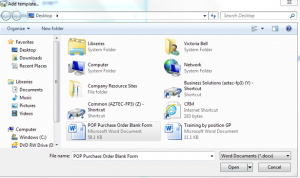
Select your new Word template, and then click “Open.”
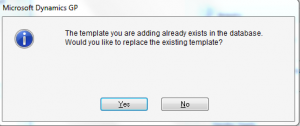
You may get a “Replace” message if you gave the report the same name as the original. Click “Yes.”
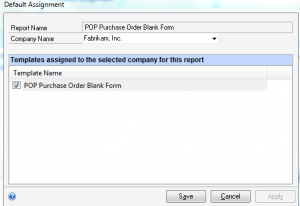
You will be required to assign the template to a company or companies and vendor(s). Select “Customers” if you are working with sales templates. You must have at least one “Default” template.
Click “Assign.” This will open an alternate screen.

This is the Company screen. Select the company or companies that will be using this template. Click “Set Default” to select your template.
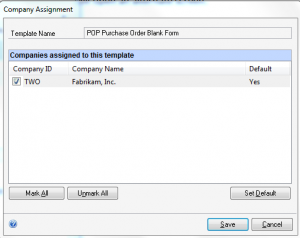
Click “Save.”
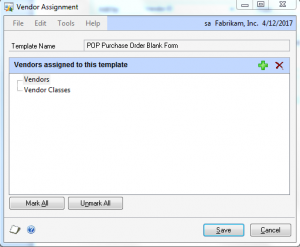
Click “Assign” again for your vendors. Click the plus symbol to open the “Add Vendors” window.
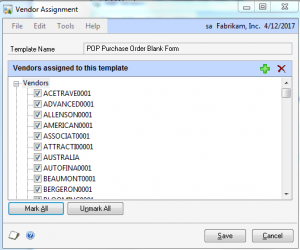
Select a vendor or a range of vendors. Click “OK.”

Mark the vendors you want to use the template or click “Mark All.” Save.
Close the Template Maintenance screen.
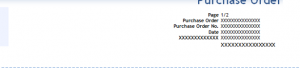
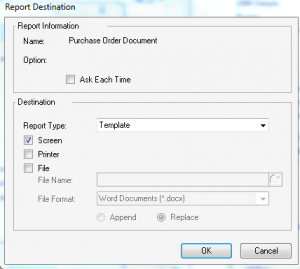
When you go back to the Series Transactions screen, select your document and print the template to the screen to verify your changes. Be sure to select “Template” as your report type.
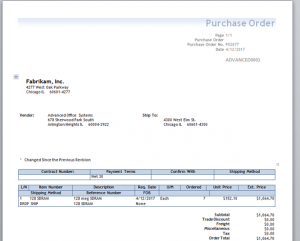
You should see your template with the modifications you have made.
Note: Although you may make cosmetic changes to your template in Word, if you add any field definition, you must make that change in Report Writer. Once you have made that change, you are required to create another XML file and start the process again.
For more information, please contact our Microsoft Dynamics GP Support Center.
This post was written by: Victoria Bell
Victoria is a member of Conexus SG Microsoft Dynamics GP team, with experience performing implementations, training, developing business processes and project management for the financial, distribution and manufacturing industries. She previously spent 16 years working with Dynamics Value Added Resellers for customers throughout North America.